Scenario
Active Directory has been configured on Windows Server 2016. The identities stored on-premise now need to be synchronised with Azure AD. This guide will walk you through the steps to successfully sync the on-premise AD accounts to Azure AD.
Domain Preparation
Check that the domain is functional level is 2008 or higher.
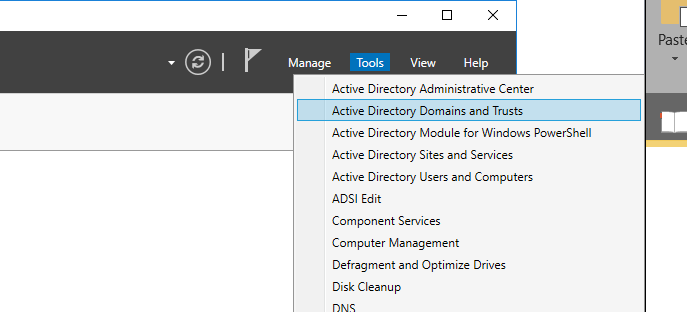
- Open server manager and open up Active Directory and Domains and Trusts:
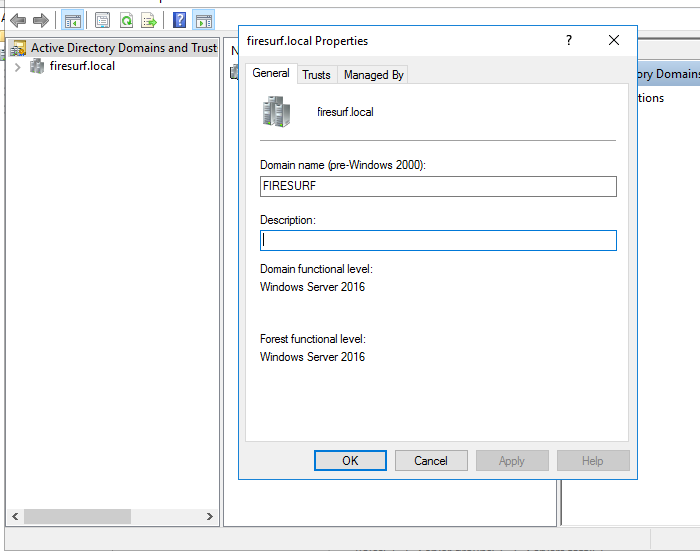
- Right-click on local domain name > properties. Ensure that the forest functional level is Windows Server 2016:
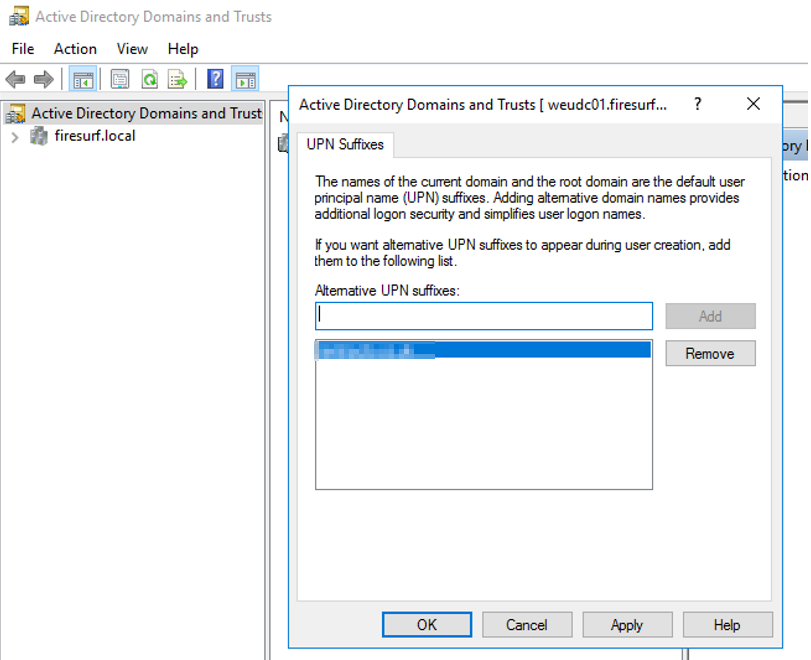
- Right-click on the Domain and choose properties. Add the new domain as an alternative UPN Suffix:
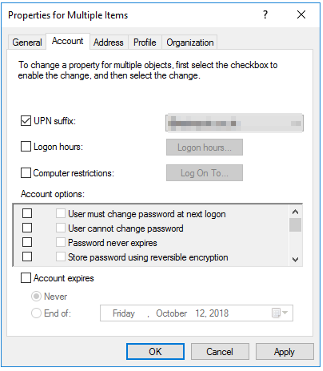
- Change the UPN to the alternative suffix, right-click on all users in AD then choose properties:
Setup Azure AD Connect
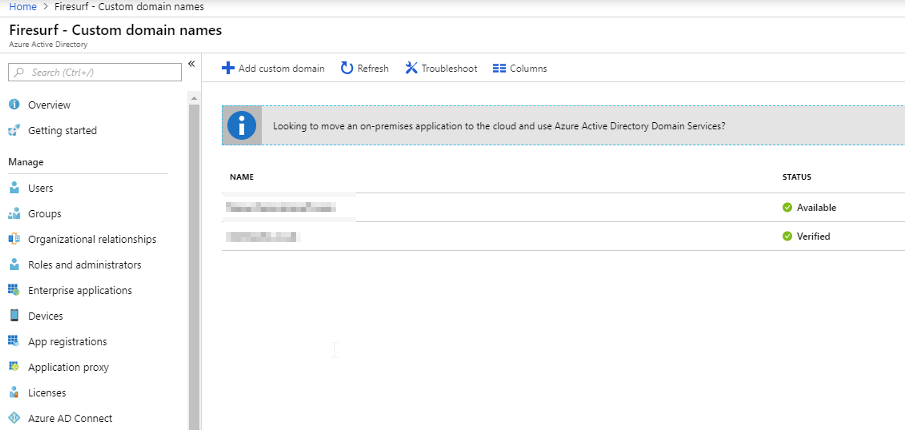
- Ensure that your custom domain has been added to Azure AD:
- Download Azure AD Connect.
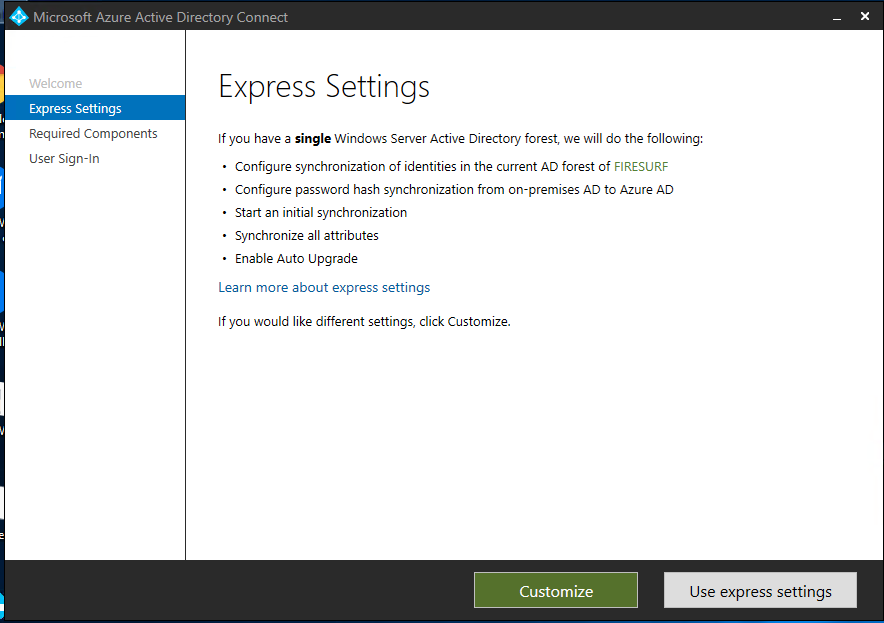
- Run the Azure AD connect installer on a dedicated Virtual Machine and choose Express Settings (there are other features available but for the purpose of this tutorial, express settings will be used):
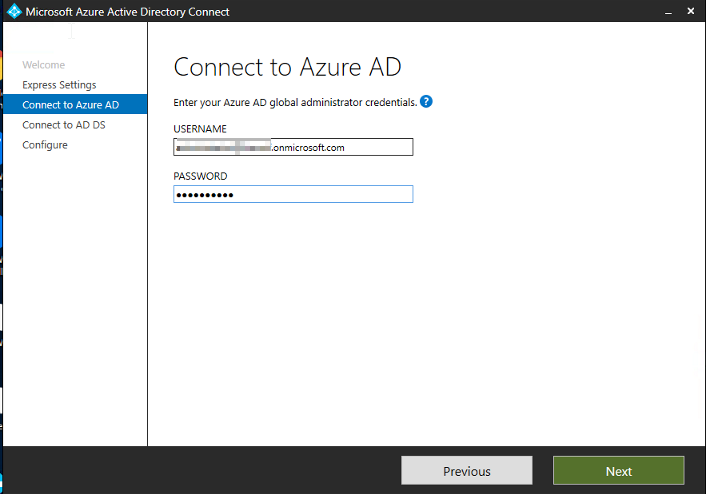
- Input your Microsoft 365 Global Admin credentials into the dialogue:
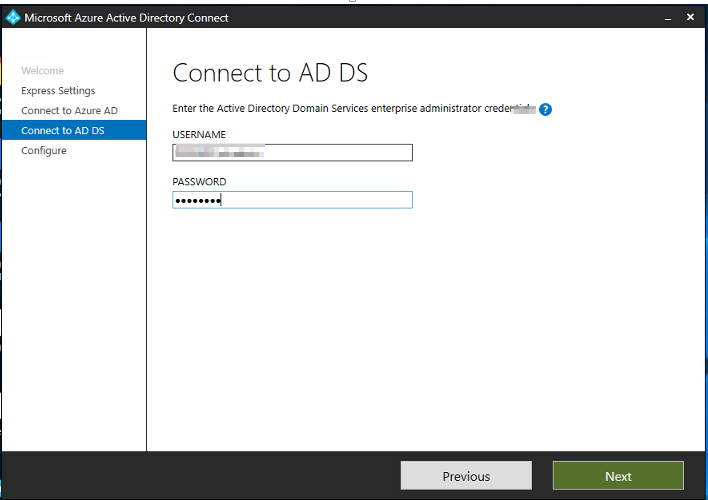
- Next, enter in your on-premise Active Directory enterprise admin account credentials:
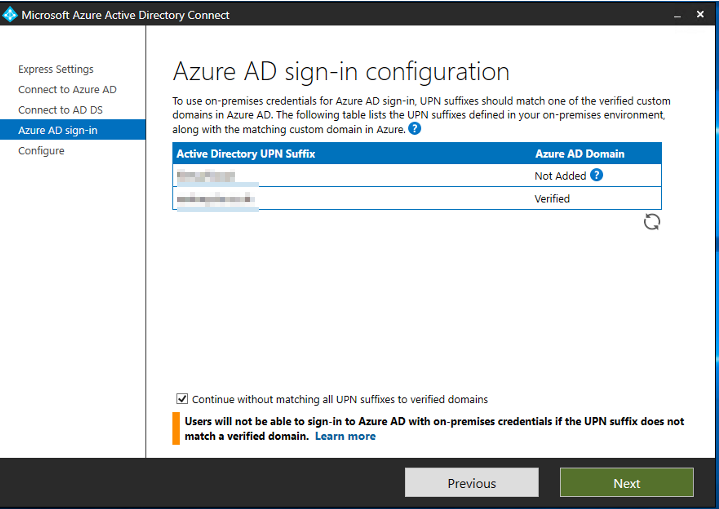
- Tick the “continue without matching all UPN suffixes to verified domains” and click on Next:
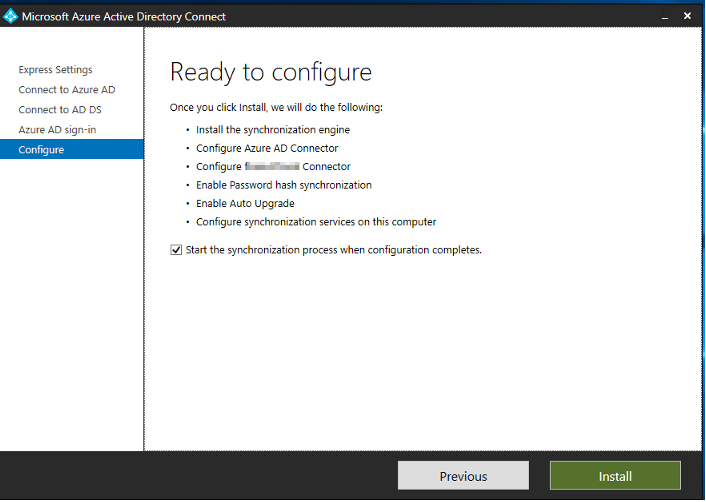
- Click on Install and ensure that start the synchronization process when configuration completes tick box is checked:
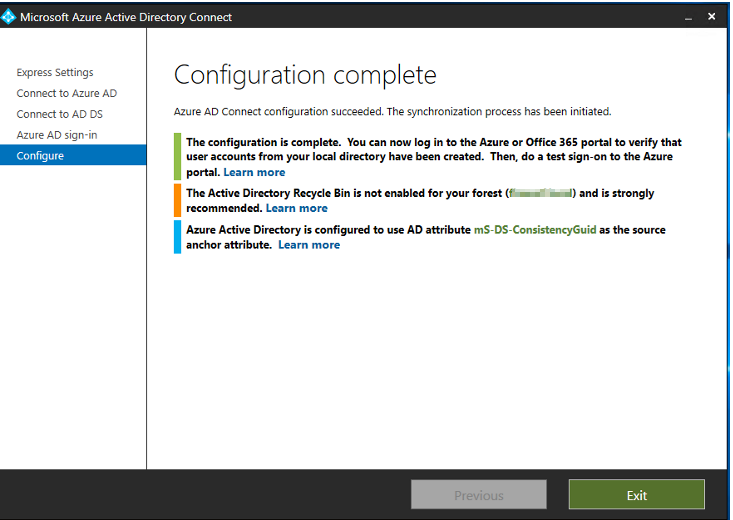
- Review Installation progress and click on Exit:
I hope this guide has helped you to install Azure AD connect. If you have any questions please feel free to drop a comment 👍

